|
Creating Living Soil Chemical-based farming operates on the assumption of dead soil; which means there are no nutrients available in the soil and so they need to be added physically. And after the use of chemical pesticides and fertilizers, the life in the soil diminishes greatly, thus reducing the productivity of the land. So you end up using even more chemicals the next time which leads to a vicious cycle. The focus of chemical farming is to give all the input to the plant, which is a short-term process. Whereas in organic farming the focus is on creating good and healthy soil so that whatever is planted grows well. It requires patience and dedication to renewing and regenerating the soil naturally which ultimately gives you long term productivity and health benefits. When you look at the soil, it may seem like lifeless clay and rocks. But in fact it is very much alive. Millions of small organisms live in healthy soil which is rich in organic matter. Some of them are big enough to see, such as earthworms and small insects. But, most of them are so small that you can only see them if you use a microscope. These microscopic organisms include nematodes (tiny worms), bacteria, fungi and even some insects which are invisible to the naked eye. These living organisms make soil alive and give it a good structure and texture. A living soil ecosystem nurtures and nourishes plants by providing a healthy medium to take roots and through a steady supply of nutrients. Most of the organic farming techniques focus on building living soil. So lets begin by understanding four basic techniques that everyone can apply, whether it is a garden, farm, or pots in your balcony. 1. Compost 2. Mulch 3. Manure 4. Cropping Methods Compost 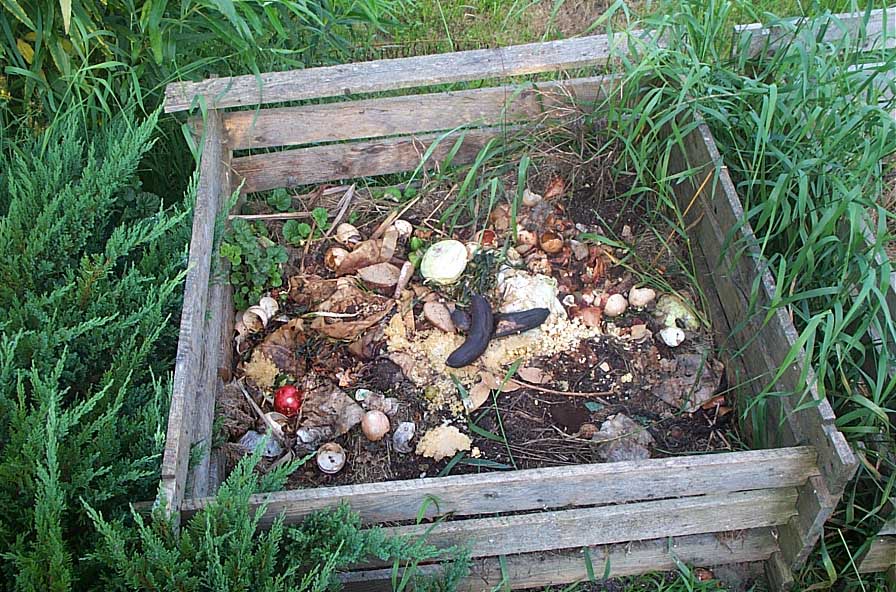
Initial Compost Phase
Compost-making is simply imitating nature's process of natural decomposition as we can witness in the forests. The dark-hummus like substance found on the forest floor is compost. It adds essential nutrition back into the soil which the plants and trees then take in to grow. Just like everything in nature, this is also a cycle of give and take. The amount of nutrition that is taken by a tree or plant to grow is returned to the soil when the dead tree falls to the forest floor and begins decomposing. Therefore, while growing our vegetables in our gardens, we need to put back the nutrition that we are taking out. Compost is a natural fertilizer, and good, mature compost, is one of the best fertilizers that can be found anywhere in the world. To make good compost it is essential that it is an aerobic process that creates compost rather than methane gas as a by-product. For this you need all your bio-degradable kitchen waste (cooked/uncooked food scraps), some dry leaves, grass, or straw (brown matter), soil, and water. If these ingredients are managed in the right order then the result will be great compost that you can add to your soil which will boost the growth of your plants. If growing in pots, it is even more essential to ensure that the soil remains rich in nutrients, since natural cycles of nutrients, soil, and water become restricted in pots. There are several ways of making compost depending on the size of your garden or farm as well as on the urgency and requirements of produce. However the following are some simple steps that are essential for anybody who is making compost. Step 1: Location: Choose your space for making compost. The best space for making compost is on direct soil. If you do not have a garden, create a small space where you can put some soil on the floor. Don't worry about the smell and flies. If done right, you won't have either and you can always cover your compost. Step2: Maintaining Proportions: An important thing to remember about compost-making is maintaining the balance between nitrogen (wet, green, fresh waste) and carbon (dry brown matter). The proportion between the two should be roughly 30% Nitrogen to 70% Carbon. Step 3: Creating Airways: It is essential that air should pass freely through the compost pile. For this ensure that if your cover the compost, that there are holes in the surrounding structure or bin. This is essential for aerobic decomposition. Step 4: Layering: There are many ways of layering. However a simple way to remember how to layer is to remember to alternate between wet and dry layers. So if you have just put in a fresh batch of waste from your kitchen into the compost pile, put a layer of dry grass or leaves on top of that and you can also add some soil as it may quicken the composting process. The dry layer will also keep animals, flies, and bad odour away. Step 5: Maintaining Moisture: The process of decomposition requires moisture. If the compost pile gets too wet it will lead to anaerobic decomposition (rotting) and if the pile is too dry, then it will not decompose quickly. So it is essential to keep the pile moist. Check the pile before adding water to see if it needs any. Step 6: Regular Turning: Once the container in which you are piling your wet waste and dry leaves into is full, then you need to STOP adding new waste into that. You can either create a new pile or just find a another place for your waste. Once the container is full, you need to turn (mix) the compost once every 2 weeks to quicken the decomposition process and to ensure that there is only aerobic decomposition taking place. 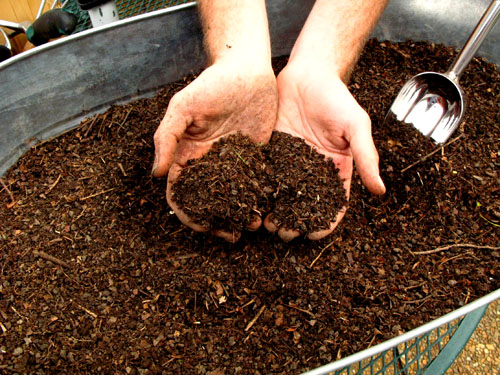
Final Product after Decomposition
If you are in a tropical country like India where decomposition is very rapid, you should have a wonderful pile of compost ready in 30-45 days. Once ready you can store it in a dry place and use it liberally on your soil before planting, and after planting.
Next article on how to make compost in a plastic garbage bin. Compost Away! More Information can be found here: A great article on composting for further reading: The Basics of Composting
0 Comments
Leave a Reply. |
Principles and Practices of Organic and Natural Farming Archives
November 2018
Categories
All
|
 RSS Feed
