 Organic farming gives most importance to the soil. Understanding and nurturing the foundation of plants, and trees is extremely important. Learning how to prepare good soil, how to maintain it, and how to replenish it, is the most valuable skill for any gardener. Lets see how we can understand the first step of planting...preparing the soil. If you would ask me what I love most in the process of gardening, it is definitely preparing the soil. Who wouldn't want to play in the mud!? In an ideal situation where the balance of nutrients in and out is maintained, and the soil remains wonderfully soft, moist, and nutritious like in a rainforest, you would not have to touch or disturb the soil. However, most people are not lucky to have such amazing soil to start with. So effort must be made towards reaching a point where preparing the soil becomes a minimal activity.
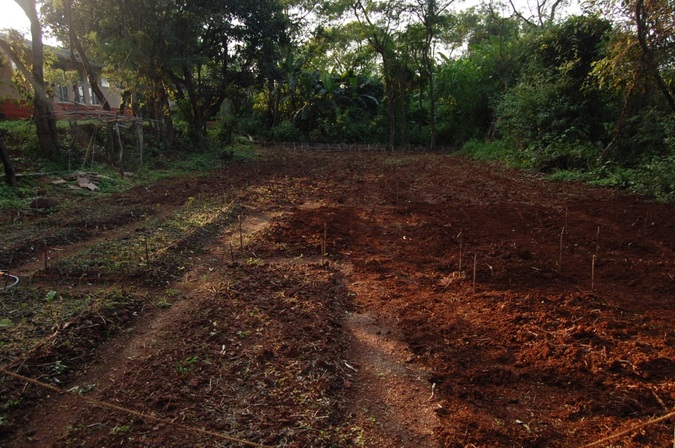
So when I say preparing the soil, what is the first thing that comes to your mind? Ploughing? Indeed that is what most people think it is. If you understand how alive the soil and earth is, then you will only be able to look upon the ploughing as raping of earth. Ploughing with machines is worse than with bullocks. But almost all ploughing that is now manual, tills the soil too deeply, thus disturbing the delicate soil structure. Sowing seeds requires only 2-3 inches of lose soil. Technology has unfortunately misunderstood the working of nature. So how can you prepare soil in an organic manner? Loosening the Soil: If you have a garden with quite a bit of space, and the soil looks like it has been compacted, then it might require loosening. The same applies to soil in pots. The process of loosening also involves the removal of stones and breaking down of clumps of earth. This loosening of soil is done for a couple of different reasons. One is to help the seeds or seedlings planted get rooted more quickly instead of struggling with hard soil. The second reason is for easier removal of weeds. It is important to remember that loosening all the soil of your garden or pots should only be done once before planting new seeds or seedlings. Weeding is best done gently by hand once planting has already been done. Making Beds: Once you have loosened the soil, you can make beds by moving the soil into different shapes. Smaller beds are always better than bigger beds because the less you walk on the bed, the better it is for the plant. 1 meter wide beds are a good size. Beds usually are higher than the ground around them and so they are called 'raised' beds. Raising the height of your beds helps in production of bigger vegetables. However it is not necessary for all kinds of vegetables. Roots and tubers may prefer raised beds while ordinary hardy plants such as chillies or leafy vegetables may not require that. Be creative about making beds. Don't believe anybody who says that beds must be rectangular. Have you tried semicircles? It works great! Adding Nutrition: The assumption that I unfortunately have to make these days is that most soil is degraded and requires the addition of nutrients from outside. Once you have decided the shapes and spots of your beds, you can add compost, vermicompost (worm castings), or animal manure (cow, chicken, sheep, goat, horse etc.). Some people prefer to mix the soil and the compost while others prefer to just lay down the compost as a top layer of the soil so that the nutrients can slowly seep into the soil with the water. Any method is fine. Compost can be added in good quantity for example 1/4th of the content of your garden bed or pot can be compost. Vermicompost and animal manure have stronger nutrition and thus must be used in lesser amounts and mostly closer to the plant. Levelling the Soil: Once you have added the compost and/or other nutrition, you need to level the surface of the soil. The reason for this being important is to make sure that every plant on the bed gets adequate water. If the soil around your plant is slopping away from it, then the water will run away from the plant and probably over-water the plant towards the bottom of the slope. The final product of your efforts should be soil that is mostly devoid of rocks, stones, and clumps of earth. If needed just sit down and feel the soil with your hands to know if there are rocks or clumps. Think of it as meditation or just pure fun as you break these clumps of soil with your hands. Once you have accomplished these steps, you are ready to plant! If you leave this wonderfully prepared soil barren for too long, it will result in a loss of all the nutrients that you had put in with all your hard work. So remember to prepare your soil only when you are ready to plant. Tool Tips! Here are some great tools that you can use to prepare your soil. Click on the names to view their photographs. Hand Shovel - For loosening the soil, mixing, weeding, scooping (good for pots) Hand Rake - For Levelling the Soil, mixing (good for pots) Shovel - For loosening the soil, mixing, weeding, scooping (good for gardens) Rake - For Levelling the Soil, mixing, raking leaves and weeds (good for gardens)
0 Comments
Leave a Reply. |
Principles and Practices of Organic and Natural Farming Archives
November 2018
Categories
All
|
 RSS Feed
